1. Introduction
Computational Physics at U of T uses Python 3 from the Anaconda distribution. The documentation on this website will cover Spyder and Jupyter notebooks. Older versions of the website covered Python 2 using VIDLE. As a result of the update, we no longer support or use the VPython package.
If you're interested in background on the Python 3 migration and the other changes, read this background information.
"I need help!!": If you are a University of Toronto Physics student and need help, feel free to contact us with our contact form. We cannot provide help to folks outside U of T Physics.
2. Installing Anaconda Python 3
So, let's get started on installing Python 3 on your computer!
To install this software:
- Read the instructions on installing to the end.
- Then try to download, install, and set up Python 3 on your computer.
- Finally, test out your distribution and get familiar with software by working through "3. Getting started with Anaconda Python 3/Spyder".
Installation
- Go to Anaconda Installers and select the installer appropriate to you operating system. You will want the 64-bit installer for the latest version of Python, unless you have very old hardware.
- Install the software following the prompts.
3. Getting started with Anaconda Python 3/Spyder and running scripts
Below are a few steps to test your distribution and get familiar with how to run your new Python 3 software. You can use the Spyder program to edit and run Python scripts. Spyder is sometimes called an Integrated Development Environment, or IDE.
Note: to avoid unexpected behaviour, open .py files from your Python IDE instead of clicking on them. It is usually better for you to open Python scripts (.py files) from inside your IDE session than by clicking on the file itself. This is because your computer may be set up to run another version of Python when you open a .py file, or because your computer may not know what to do with .py files at all.
To find and execute the command to start Spyder, separate instructions for Windows (Section 3a) and Mac OS (Section 3b) are provided below.
3a. Windows startup instructions
- On Windows, a link to Spyder can be found in Start Menu → Programs → Anaconda3 (64-bit).
- The simplest way to find it is to search for Spyder and click on the icon for the Spyder application.
- You can then install a shortcut to your favourite location.
- When you start Spyder for the first time, it will sometimes take a long time (a couple of minutes) for the initial splash screen to appear.
- If it doesn't appear after a few minutes, try starting it again, and if it still doesn't appear and you are a current U of T Physics student, contact us for help.
- Once you've started Spyder the first time, you might need to click past a couple of dialogue boxes.
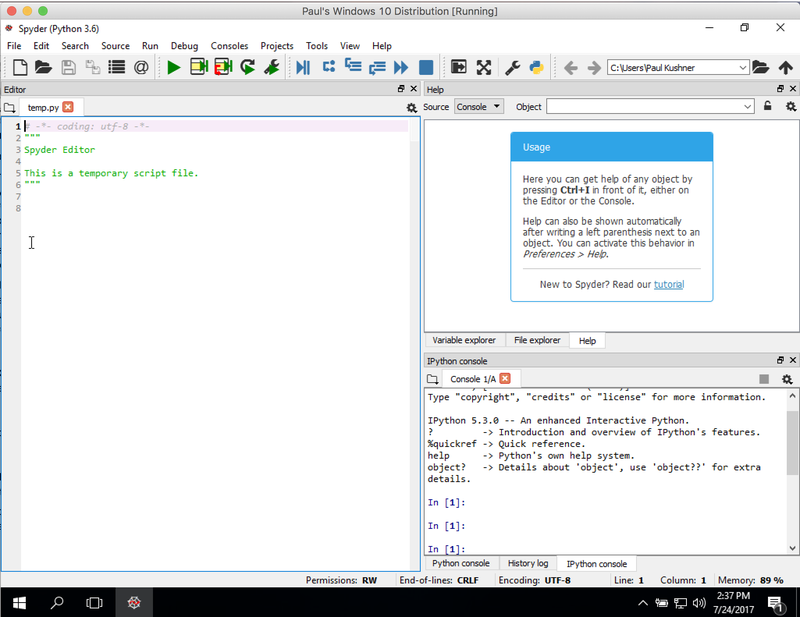
- Once you've started Spyder, you should see a screen that looks like the following, although you may see a newer version of Spyder.
- We'll go into the details of the different parts of the Spyder in our tutorials.
3b. Mac OS X startup instructions
- On Mac OS, Spyder can be found using the Anaconda Navigator or at anaconda → bin → spyder in your home folder.
- You can also search for Spyder in Spotlight
- Opening Spyder will first open a terminal session and then open a graphical Spyder window.
- You might see a message suggesting that there is an "Update Available". You can ignore this for now.
- Also, a terminal session will be started with a bunch of messages of the form:
[warn] kq_init: detected broken kqueue; not using.: Undefined error: 0- These can be safely ignored
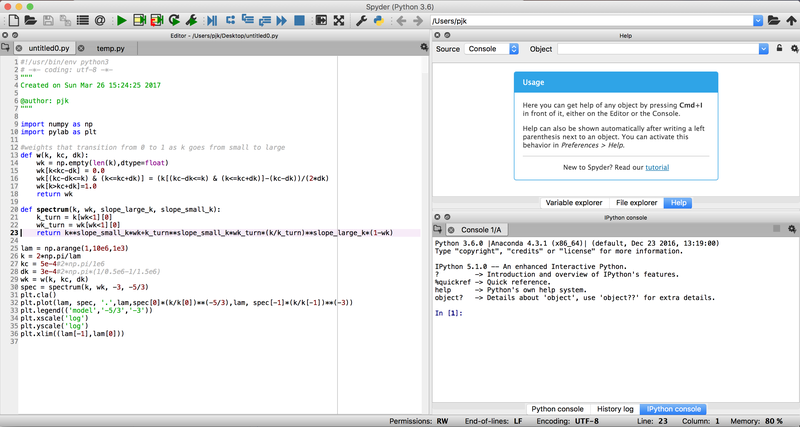
- The result will look something like what is shown below, although you may see a newer version of Spyder.
- We'll go into the details of the different parts of the Spyder window in our tutorials.
4. Testing your software
We will explore more how to use the Spyder Integrated Development Environment (IDE) in our tutorials. For now, to test if your distribution is working, do the following:
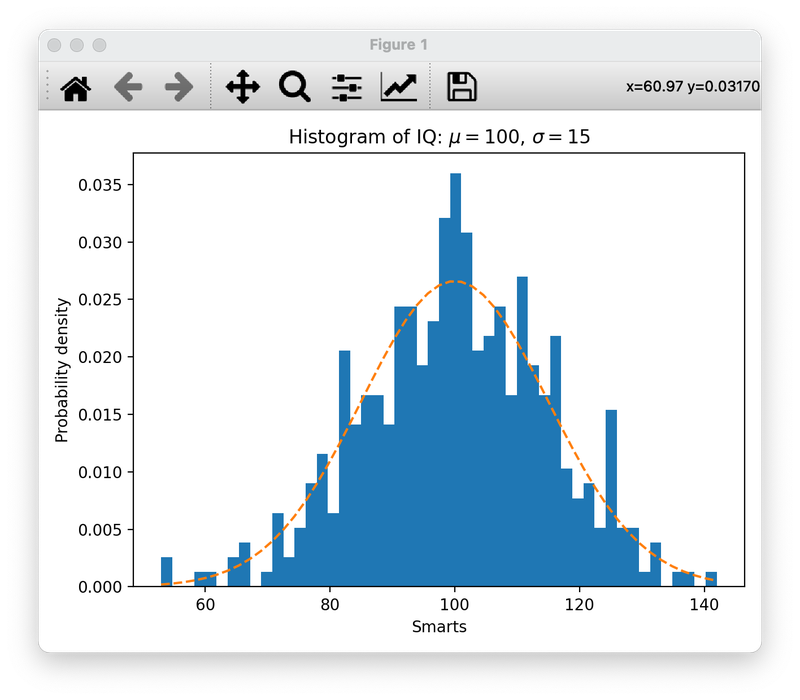
- Download the script histogram_features.py, which is taken from the matplotlib examples list.
- Open it from inside Spyder and run it by pressing the play button or F5.
- The result should be a window inside the Spyder session that looks like the following:
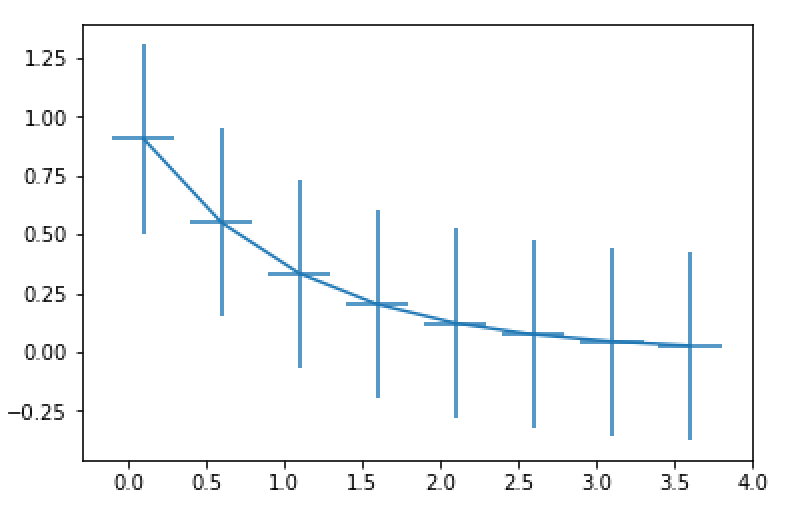
- Download and run the error bar script, also from the matplotlib examples list.
- See if you obtain the following inside the Spyder session:
5. Recap
- You should have now installed Anaconda Python on your computer.
- You should have also found the Spyder IDE and started a session with it.
- You had a chance to download and test a couple of Python plotting scripts inside Spyder.
- If you were interested, you learned some background on the software used at computation.physics.utoronto.ca.
Well done! Now you are ready to work through our four part tutorial, starting with Part 1.
The computation.physics.utoronto.ca site content is Copyright Department of Physics, University of Toronto.